At this point, you have a Dev Container for VS Code that is properly set up and configured to connect to your Artificial Cloud securely. We call the Dev Container that you have created, an Adapter. Adapters are containers of software that can run in the Artificial Cloud or your lab OR they are just handy development environments for rapidly developing Workflows. Let’s do that now, and it will take less than 10 minutes!
Please note that this tutorial presumes that you have already created your first Lab and first Assistant in your Artificial instance.
Create Hello Workflow!
From the command prompt of your VS Code Adapter, go to the /workspace/workflow and create a wf_hello.py file.
$ cd /workspaces/workflow
$ touch wf_hello.py
$ code wf_hello.py
VS Code will open your wf_hello.py into a text editor. Into that, paste the following Orchestration Python (OP) snippet. Please note that the Lab ID must match the Lab ID you created in your Artificial instance. This article helps explain how to locate IDs for Labs and Assistants in Artificial.
from artificial.workflows.decorators import action, workflow

@action('expression', 'message')
async def message(message: str) -> None:
    '''Displays an informational message in LabOps.
    '''
    pass

@workflow('Hello Workflow', 'hello_wf', 'lab_b4bdcb5b-578e-4240-8805-de66eaba8b19')
async def hello_workflow() -> None:
    await message("Hello World")
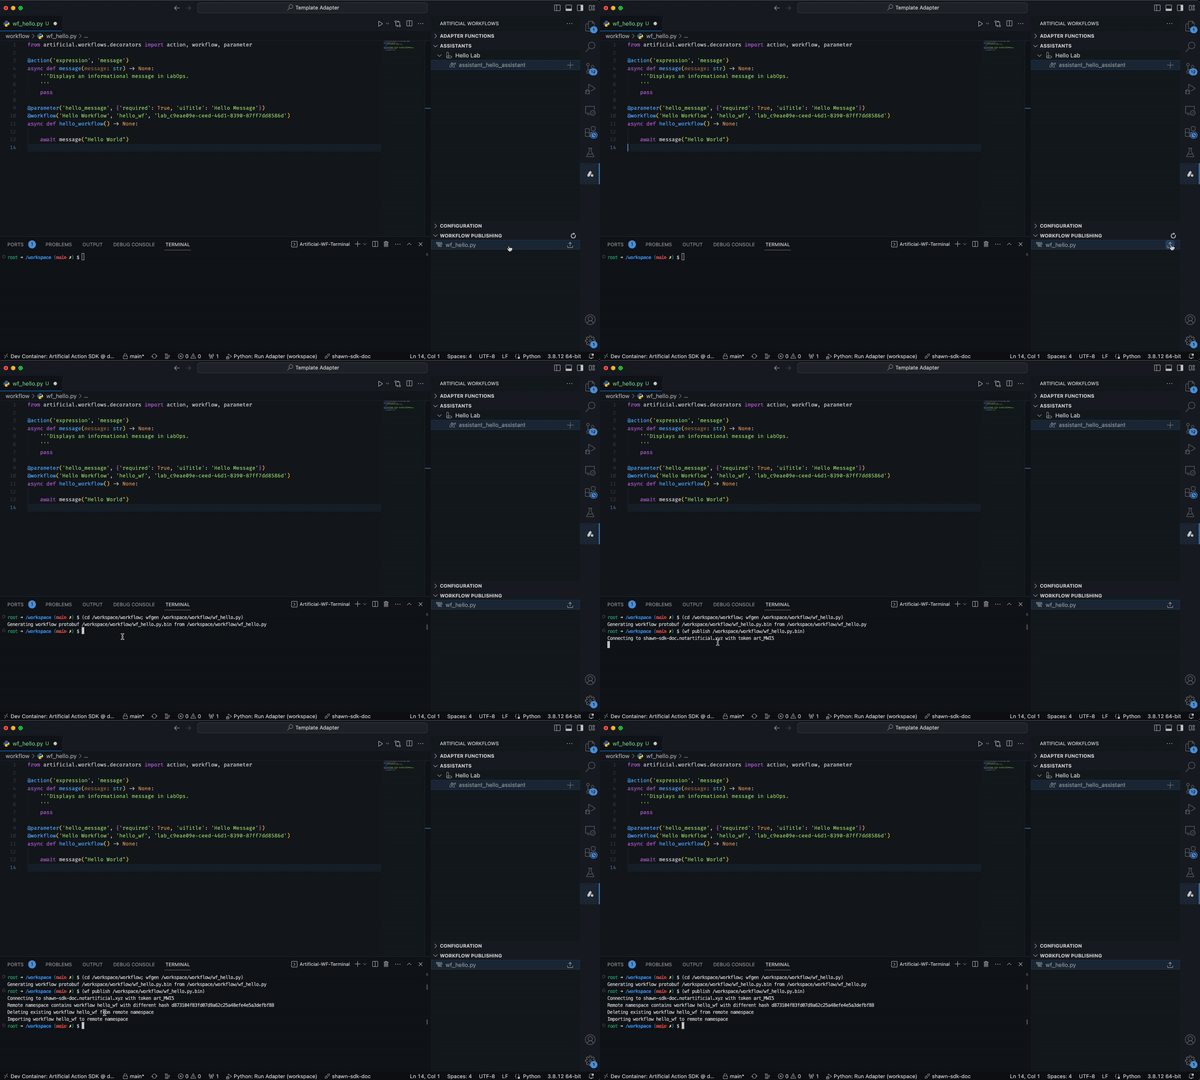
Publish your workflow using the Artificial extension

Then, use LabOps to run this Workflow and see the displayed message below!

In CodeSpaces, you can view a similar example in "tutorial_1_simple_message" and make any relevant modifications!
