With LabOps, users can create requests and jobs all in one platform.
- A request is a submission with sample information, such as the number of samples or any other details relevant to executing the workflow.
- A job is at least one request that is scheduled to run.
After creating a request, a user must create a job to schedule this work, so the standard process for Artificial users is as follows:
- Create a new Request
- Create a new Job
If users create requests in a LIMS like Benchling and that system is integrated into Artificial, users do not need to create requests in Artificial. They will view requests from their LIMS in Artificial to be scheduled as a job.
This page provides information on how to :
How to get started
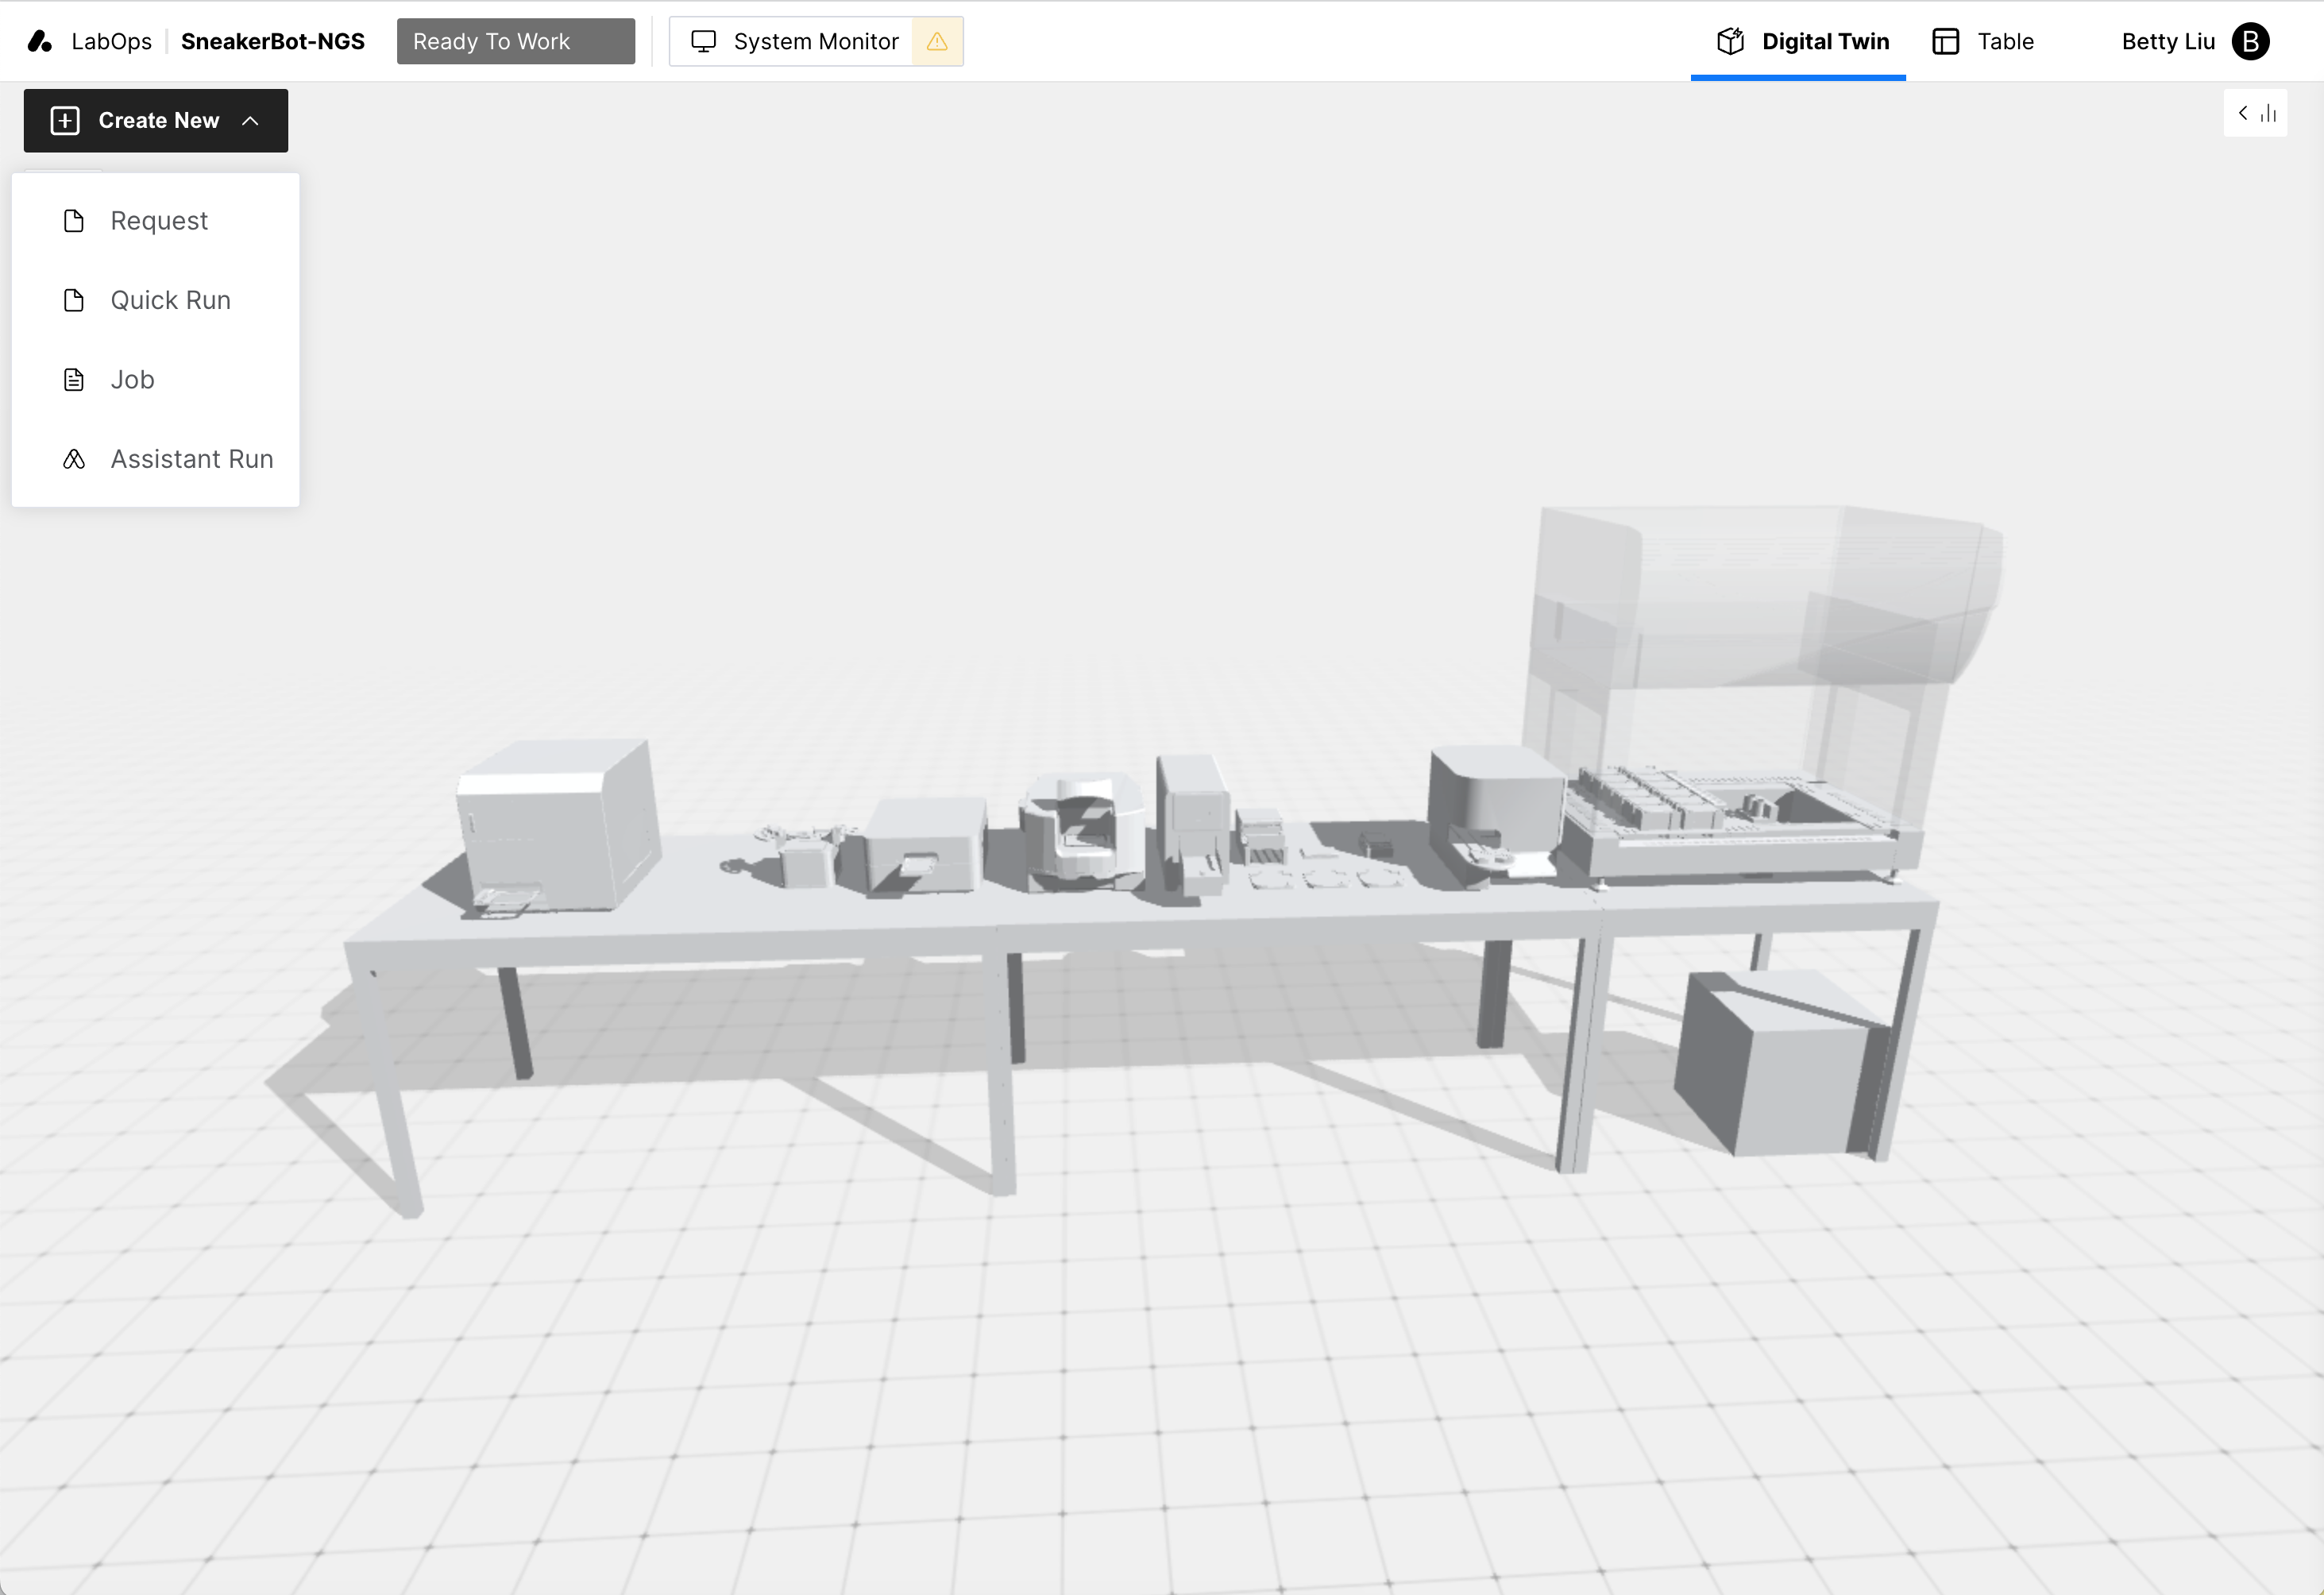
Click on the "Create New" button and select one of the following options:
- Request: this option will create a Request for the Workflow of Interest. Typically, there are parameter fields to populate.
- Quick Run: this option creates a request and automatically schedules it as a job. A Workflow must be tagged as "Quick Run" in the Workflows SDK for this option.
- Job: this will list available requests to batch (if required) and schedule as work. At times, there are job-specific parameters to set.
- Assistant Run: this will schedule a single Assistant to run.
Then, follow the relevant prompts to set parameters, batch jobs, and more to create the new request or job.
Creating a Request
- Click "Create New" and Select "Request"
- Select your Workflow
- Rename your request and add a description, if desired
- Set parameters
- Review details and submit
A black banner will appear, from which you can select "Run Now" or create a new job from the menu. Both will take you to the same job scheduling process.
Scheduling a Job
- Click "Create New" and Select "Job"
- Select your Workflow
- Select your request(s) to schedule as a job and click Next
- Optional: Set parameters
- Schedule ASAP or Custom time and click Next
- Review details and Submit
Scheduling a Quick Run
Quick run combines the request creation and job scheduling processes and schedules them to run ASAP. This is a good option if you do not need to batch requests into a single job or set parameters at both the request and job levels.
- Click "Create New" and Select "Quick Run"
- Select your Workflow
- Set parameters
- Select "Submit" or "Submit and Repeat"
- "Submit and Repeat" will start the process from the beginning.
Scheduling an Assistant Run
- Click "Create New" and Select "Assistant Run"
- Select your Assistant
- Schedule ASAP or Custom time and click Next
- Review details and Submit
Like job scheduling, if the Assistant is scheduled to run ASAP, the job and Assistant will appear in the job panel. If it is scheduled for a time, you can see the job in the Jobs Table, and the job and Assistant will appear in the job panel once it is time to run.
Favoriting Workflows
Starring a Workflow puts the Workflow at the top of the list for easy access. This setting only applies to your local browser, so the ordering will not apply to other users or devices.
Now that you know how to submit a request and schedule a job, learn how to monitor the state and manage and view job details.